How to migrate VMware VM to Proxmox VE safely
System administrators face an increasing administrative burden when virtual machine environments require shifting from proprietary stacks to open-source infrastructure. Organizations running virtual infrastructure frequently evaluate alternatives to traditional hypervisors, prompting administrators to execute a migration path toward Proxmox Virtual Environment. Tests conducted by system engineers indicate that moving virtual machines between these systems requires careful coordination, precise disk handling, and explicit network configuration. Production downtime must remain minimal, so thorough preparation prevents unexpected boot failures and storage corruptions. Proxmox VE migration guide details core requirements for executing these transfers successfully across different hypervisor versions.
Prerequisites and hardware preparation
Before touching any production storage arrays or executing scripts, system administrators must provision adequate hardware resources inside the target Proxmox cluster. Disk controllers, CPU flags, and memory allocations need verification to ensure architectural compatibility between the source ESXi host and the target Proxmox node. Proxmox recommends testing one or more non-production virtual machines before migrating production workloads. This methodical validation catches driver mismatches early. Administrators must verify that the target cluster has sufficient free storage space matching the total provisioned or used capacity of the source virtual disks. Network bridges on the Proxmox side require proper naming conventions so VLAN assignments map correctly upon first boot.
Powering off source virtual machines
Standard migration routines require powering off the source VMware virtual machine before export. Shutting down the guest operating system ensures filesystem consistency and prevents write operations from modifying blocks mid-transfer. When virtual machines remain powered on during a disk export, file systems can enter an inconsistent state, leading to transaction log corruption or missing data sectors. Administrators should log into the vSphere client, select the target guest, and issue a clean operating system shutdown command. Once the power state reads as powered off, the disk files become static targets suitable for export.
Exporting OVF and OVA packages from vSphere
Modern vSphere releases handle virtual appliance packaging through Open Virtualization Format standards. vSphere 6.5 and later removed direct OVA export from the vSphere Client interface. Administrators must export an OVF template instead, which generates a folder containing an `.ovf` descriptor file, one or more `.vmdk` disk files, and an `.mf` manifest file containing checksums. For administrators who specifically require a single unified file package, the command-line VMware OVF Tool bridges this functional gap. Executing the OVF Tool requires valid ESXi or vCenter credentials and target paths directed to accessible storage volumes.
“`bash
ovftool vi://username@vcenter/datacenter/vm/SourceVM /mnt/storage/exported_vm/
“`
Managing large disk files and thin provisioning
Large virtual disks present significant challenges during export and transfer phases. Avoid relying on direct datastore-browser downloads for thin VMDKs because this method can transfer the logical provisioned size and effectively inflate thin disks. Official VMware documentation warns that direct browser downloads strip optimization and write raw zeroes across the wire. OVF export routines preserve compression and skip unallocated zero blocks. For massive enterprise virtual machines, administrators can use the VMware OVF Tool alongside specific parameters to divide disk files into smaller chunks. This fragmentation prevents file-system limitations on intermediate storage mounts.
“`bash
ovftool –chunkSize=4096 /mnt/storage/exported_vm/SourceVM.ovf /mnt/storage/chunked_vm/
“`
Handling snapshots and delta disks
Virtual machine snapshots complicate the import process considerably. Snapshots generate delta disk chains that accumulate write changes over time. Snapshots can slow Proxmox ESXi imports if left unmerged. VMware documentation indicates that certain snapshot and delta-disk exports from vSAN environments can become incomplete or corrupt if exported directly. System administrators must consolidate or delete all existing snapshots within vSphere before initiating any export or migration procedure. Merging snapshots consolidates the base disk and all delta layers into a single, clean `.vmdk` file, ensuring a predictable import stream.
Preparing storage targets on Proxmox
Proxmox VE supports multiple storage backends, including ZFS pools, LVM thin pools, Ceph, and standard directory-based storage. The chosen target storage must have enough free IOPS headroom to handle the incoming write loads during the disk conversion phase. Administrators should check the Proxmox web interface, inspect the storage node configuration, and confirm that the filesystem has adequate capacity. If the storage backend uses ZFS, enabling compression beforehand reduces disk wear during large raw image writes. Directory storage works well for initial testing, whereas production deployments benefit from clustered storage formats like Ceph or shared ZFS configurations.
Importing OVF packages into Proxmox VE
Proxmox offers native tooling to ingest OVF packages directly via the command line or through API endpoints. Once the exported files reside on the Proxmox host storage path, administrators can invoke the import utility. The command requires a target virtual machine ID, the storage pool identifier, and the path to the OVF descriptor file.
“`bash
qm importovf 100 /mnt/storage/exported_vm/SourceVM.ovf local-zfs
“`
This command parses the hardware configuration inside the descriptor file, creates a new virtual machine definition with matching CPU and memory parameters, and converts the source `.vmdk` disks into raw or qcow2 formats natively readable by QEMU.
Converting standalone VMDK files
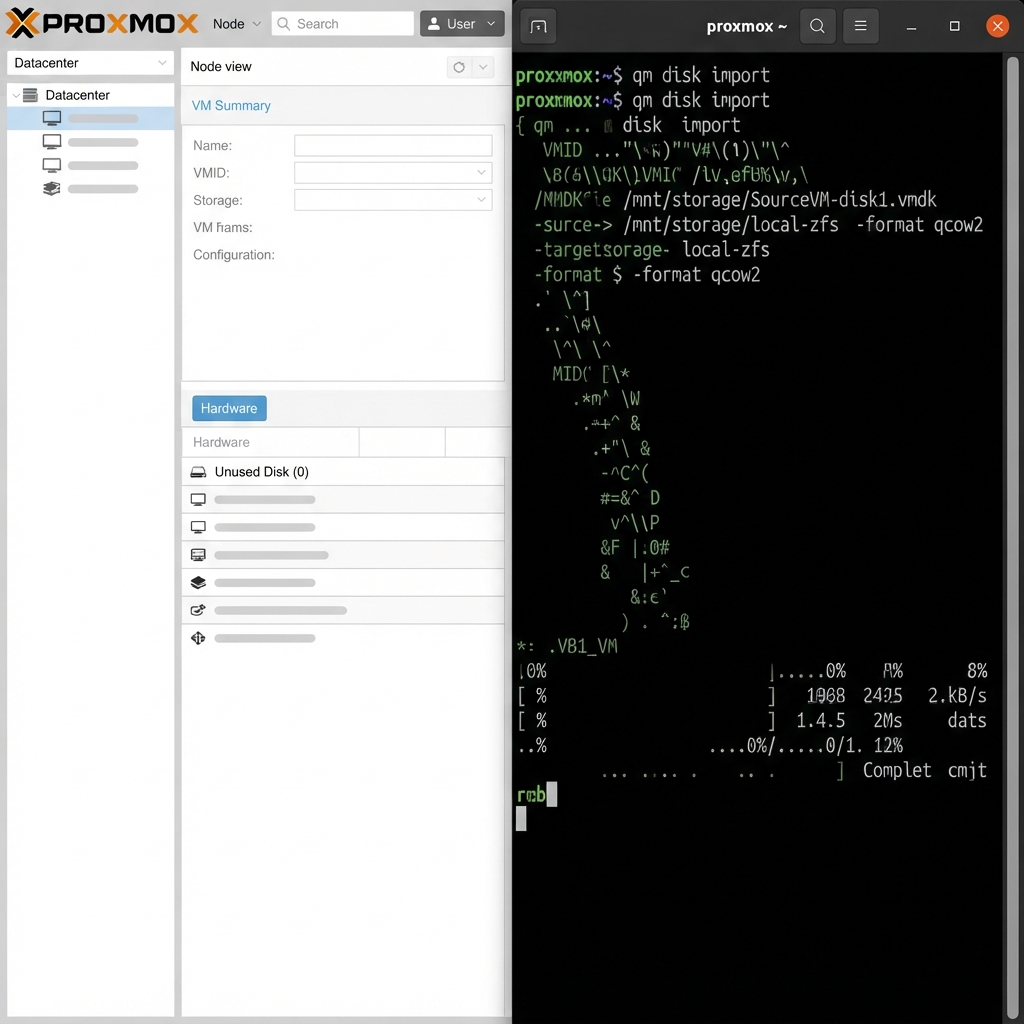
Sometimes administrators possess raw `.vmdk` files without an accompanying OVF descriptor. Proxmox accommodates this scenario through manual virtual machine creation and subsequent disk attachment. Administrators first generate a blank virtual machine shell inside the Proxmox web interface, noting the assigned numeric VMID. Next, the raw disk image undergoes conversion and attachment using the storage management utility.
“`bash
qm disk import 100 /mnt/storage/SourceVM-disk1.vmdk local-zfs -format qcow2
“`
After the utility finishes writing the converted disk image to the target storage volume, the administrator must open the Proxmox hardware tab, select the unused disk slot, and attach it to the virtual machine configuration.
Configuring network adapters and VirtIO drivers
Network performance depends heavily on driver selection within the virtual hardware configuration. Use VirtIO for the target network adapter where the guest operating system supports it. Proxmox identifies VirtIO as the lowest-overhead network interface option available. Windows guest operating systems require specific VirtIO drivers before they can recognize paravirtualized network and disk controllers. If the migrated Windows virtual machine boots without VirtIO storage drivers installed, the kernel encounters a stop error during initialization. Administrators should inject VirtIO drivers into the Windows registry or switch the virtual machine disk controller to IDE or SATA temporarily during the initial boot phase.
Managing MAC addresses and network bindings
When moving virtual machines across hypervisors, network interface card MAC addresses often change unless explicitly specified. Preserving the original MAC address prevents DHCP lease exhaustion and firewall rule mismatches on the local network. Administrators can copy the network interface MAC address from the vSphere client and paste it into the hardware settings of the Proxmox virtual machine before powering it on for the first time. Additionally, verifying the bridge assignment ensures that the virtual machine attaches to the correct physical VLAN trunk on the Proxmox switch fabric.
Handling virtual TPM and encryption limitations
Security features require special attention during platform transitions. VMware virtual TPM state cannot currently be migrated directly to Proxmox VE. For encrypted virtual machines, administrators must retain manually managed decryption keys and assess vTPM-dependent encryption schemes before starting the migration process. If BitLocker or enterprise disk encryption is active within the guest operating system, administrators should suspend protection or prepare recovery keys. Without proper preparation, encrypted volumes will lock up upon booting inside the new Proxmox environment, requiring manual password entry via the console.
Post-migration testing and validation
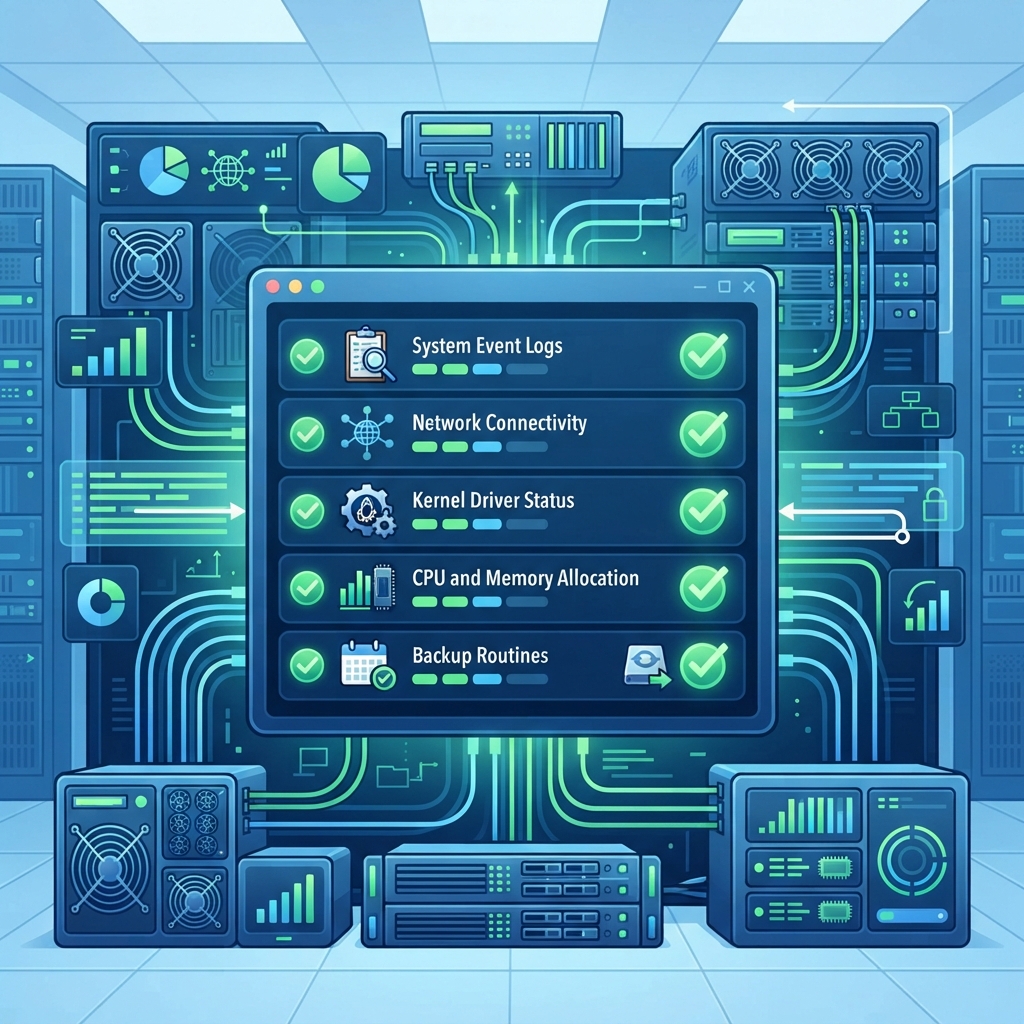
System verification begins immediately after the first successful boot on the Proxmox hypervisor. Administrators must inspect the system event logs, check network connectivity, and verify application responsiveness.
- Review kernel logs for driver errors or missing storage modules.
- Confirm that all assigned CPU cores and memory allocations match expectations.
- Test backup routines to ensure the new Proxmox backup schedule captures the migrated guest without generating locking errors.
- Validate application endpoints and database connectivity to guarantee zero data loss occurred during disk conversion.
Troubleshooting common boot failures
Migrations occasionally encounter boot failures due to missing bootloader entries or incorrect storage controllers. If a Linux guest drops into an emergency rescue shell, the `/etc/fstab` file might reference persistent device paths or UUIDs that changed during the raw disk conversion. Administrators can fix this by booting into a live ISO image, updating the GRUB bootloader configuration, and regenerating the initramfs image. For Windows guests displaying blue screen errors, switching the virtual disk controller between IDE, AHCI, and VirtIO usually resolves storage initialization faults.
Key Takeaways
- Always test migrations using non-production virtual machines before touching core workloads.
- Power off source virtual machines to guarantee file system consistency and avoid corruption.
- Remove or consolidate all snapshots and delta disks to speed up imports and prevent data loss.
- Use VirtIO network and disk controllers for optimal performance on Proxmox VE.
- Keep manual backups of decryption keys because vTPM states do not transfer automatically.
Frequently Asked Questions
Can I migrate powered-on virtual machines from VMware to Proxmox?
Proxmox recommends powering off the source virtual machine prior to migration to guarantee filesystem consistency and prevent data corruption. Live migrations across different hypervisor platforms are generally not supported.
What happens to my VMware snapshots during migration?
Snapshots do not transfer natively to Proxmox VE. Administrators must consolidate or delete all snapshots in vSphere before exporting the virtual machine disk files.
How do I handle Windows activation after moving to Proxmox?
Windows guest operating systems may require reactivation because the hardware fingerprint changes substantially when moving from ESXi to Proxmox VE. Keeping original license keys handy ensures compliance.
Can I import OVA files directly into Proxmox VE?
Proxmox supports importing OVF and OVA packages through its integrated importer tools and command-line utilities, simplifying the ingestion of packaged virtual appliances.
Are VMware virtual TPM modules compatible with Proxmox?
VMware virtual TPM states do not migrate directly to Proxmox VE. Administrators must manage disk encryption keys manually and prepare for potential password prompts upon first boot.
What storage formats does Proxmox use for imported disks?
Proxmox converts incoming disk images into raw formats or qcow2 depending on the selected storage backend configuration during the import command execution.
For further guidance, consult the official Proxmox VE migration guide to ensure a smooth transition across hypervisor platforms pve.proxmox.com.
For further guidance, consult the official Proxmox VE migration guide to ensure a smooth transition across hypervisor platforms pve.proxmox.com.